- Craft
- Learning
The fastest way to master cinematic FPV
· 3 min read · Manmadecinematics
Most people learn FPV the slow way: they buy a drone, crash it, rebuild it, and repeat for a year. Some of that is unavoidable. A lot of it is not. The fastest route is not about flying more, it is about flying the right thing at each stage, with a clear picture of what the finished shot should look like.
1. Start in a simulator, and stay there longer than feels necessary
A simulator such as Velocidrone or Liftoff costs a fraction of a single crash and lets you fail a hundred times in an evening. Fly with the same radio you will use outdoors. Do not move to a real aircraft until you can hover, turn and land without thinking about the sticks. Your thumbs need to be quiet before your eyes can start composing.
2. Learn to fly before you learn to film
Cinematic flying is smooth flying. Smoothness comes from control, and control comes from repetition. Practise in the order below and move on only when each step feels dull.
- Hover, yaw and land precisely, in every orientation.
- Fly slow, level lines at a fixed height, then curves.
- Bank into turns with the camera pointing where the aircraft is going.
- Climb and descend while moving forward, without the speed changing.
- Only then add dives, flips and power loops.
3. Choose a cinewhoop first
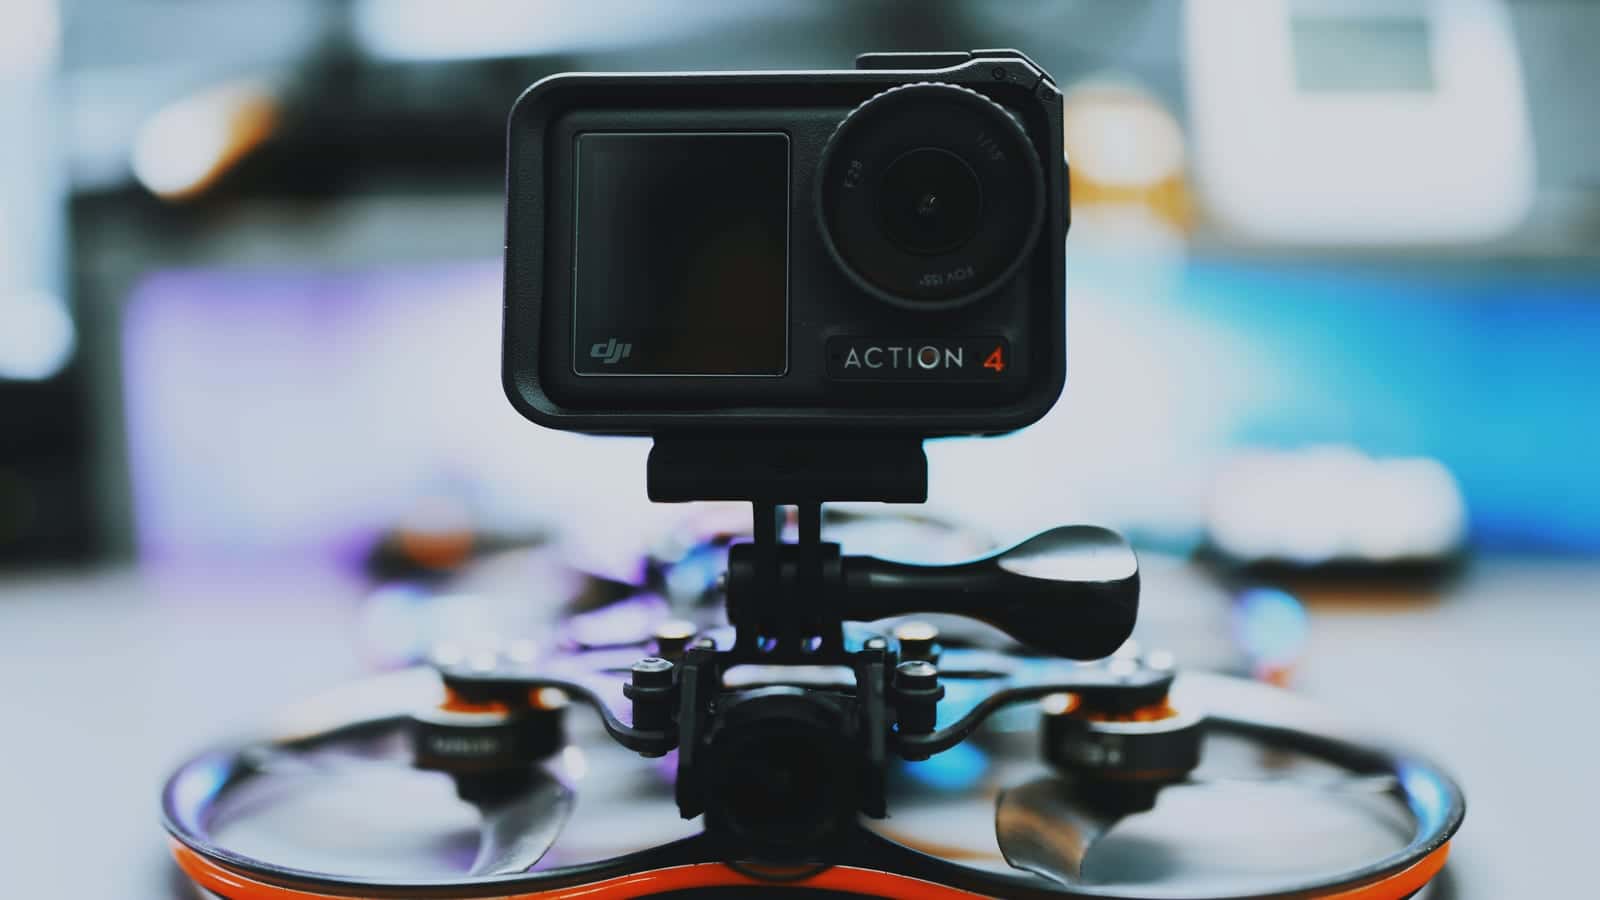
A small ducted aircraft carrying a camera is slower, safer around people and forgiving of a bump into a wall. It teaches framing and gentle motion without the stress of a fast freestyle quad. Move to a larger, faster aircraft for open-air chase shots once your basic shots are repeatable. Whatever you fly, check the rules for your country and your site first, including any registration or permission that applies.
4. Practise shots, not flights
Pick one move and fly it until it is clean: a rise past a wall, a pass through a gap, an orbit around a post, a pull-away from a tree. Repeat it ten times, watch the footage, and change one thing each time. The aim is a take you would be glad to put in an edit, not a flight that merely stayed in the air.
5. Review your footage like an editor
Watch every flight back the same day. Look for the moment the horizon tilted when you did not mean it, the second the speed changed, the frame where the subject was lost. Naming the fault is half of fixing it. Keep your best three clips from each week and compare them month to month; that is the clearest measure of progress you will get.
Practise one shot until it is boring, then make it a little harder. That is the whole method.
6. Learn the camera as well as the aircraft
- Shoot at a 180 degree shutter and use neutral density filters outdoors, so motion blur looks natural.
- Choose a flat or log profile only if you are prepared to grade it; otherwise a clean standard profile is better.
- Fly with the edit in mind: every shot needs a start, a motion and an end you can cut on.
7. Fly with a spotter and a checklist
Fast learners are the ones who are still flying next month. A spotter keeps eyes on the area while you are inside the goggles, and a short pre-flight checklist for props, battery, failsafe and a clear launch area prevents the mistakes that end sessions early. Keep a safe distance from people and property, and never fly over crowds.
What to skip
Skip expensive upgrades until your skills are the limit and not your kit. Skip freestyle tricks if your goal is film. And skip flying in strong wind or poor light while you are learning; a calm evening teaches more than a difficult afternoon.